Cross-stitching is a beloved craft that has been enjoyed for centuries. Creating your own cross-stitch pattern is a great way to express your creativity and make something unique. With the help of pattern maker online tools and cross stitch pattern software, creating your own pattern has never been easier. In this article, we will walk you through the process of creating a cross-stitch pattern step by step.
- Introduction
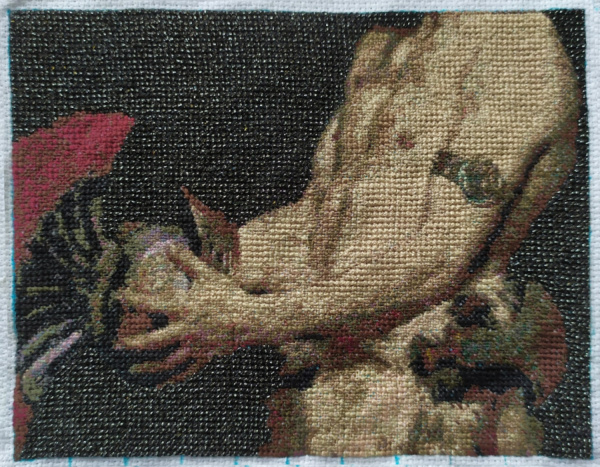
Cross-stitching is a fun and relaxing activity that has been around for centuries. The beauty of cross-stitching is that it allows you to create beautiful and intricate designs with just a few simple stitches. One of the best parts of cross-stitching is creating your own patterns. With the help of pattern maker online tools and cross stitch pattern software, you can turn any image into a cross-stitch pattern.
- Choosing a Design
The first step in creating a cross-stitch pattern is to choose a design. This can be anything from a photograph to a simple drawing. When choosing your design, it is important to consider the level of detail and the number of colors in the image. Images with too much detail or too many colors can be difficult to turn into a cross-stitch pattern.
- Gathering Materials
Once you have chosen your design, it is time to gather your materials. You will need cross-stitch fabric, embroidery floss, and a needle. You may also want to invest in a hoop to keep your fabric taut while you work.
- Preparing the Image
Before you can create your pattern, you need to prepare the image. This involves resizing and cropping the image to the desired size. It is also important to adjust the contrast and brightness to ensure that the details of the image are clear.
- Using Cross Stitch Pattern Software
Once you have prepared the image, you can use cross stitch pattern software to create your pattern. There are many different software options available, both free and paid. Some popular options include PCStitch, KG-Chart, and StitchCraft.
- Adjusting the Pattern
After you have created your pattern, you may need to make some adjustments. This could include changing the size of the pattern or adjusting the colors to match your embroidery floss.
- Choosing Colors
Choosing the right colors for your pattern is important. You want to choose colors that will match your embroidery floss and create a cohesive look. Many cross stitch pattern software options will automatically suggest colors based on your pattern, but you can also choose your own colors.
- Printing the Pattern
Once you have created your pattern and chosen your colors, it is time to print the pattern. It is important to use high-quality paper and ink to ensure that the pattern is clear and easy to read.
- Starting Your Project
Now that you have your pattern, it is time to start your project. Begin by threading your needle and stitching the first few stitches. Remember to keep your fabric taut and to use the correct stitching technique.
- Tips and Tricks
Here are a few tips and tricks to help you create the perfect cross-stitching pattern:
- Use high-quality materials for the best results.
- Start with a simple design if you are new to cross-stitching.
- Take breaks often to prevent eye strain and hand fatigue.
- Keep your embroidery floss organized by using a floss organizer.
- Practice good posture while stitching to prevent back and neck pain.
- Conclusion
Creating your own cross-stitch pattern is a fun and rewarding activity that anyone can do. With the help of pattern maker online tools and cross stitch pattern software, you can turn any image into a beautiful cross-stitching pattern. Follow the steps outlined in this article to create your own unique pattern and start stitching today!